The art of meat preparation is a cornerstone of culinary expertise. From selecting the right cut to mastering various cooking techniques, preparing meat requires skill, knowledge, and practice. Different cuts of meat demand specific approaches to bring out their best flavors and textures.
Understanding the appropriate cooking methods for different cuts of meat is essential for achieving perfectly cooked dishes. Tender cuts like ribeye or tenderloin excel when grilled or roasted, while tougher cuts benefit from slow-cooking methods such as braising or stewing. Each technique imparts unique flavors and textures to the meat, elevating the dining experience.
Mastering meat preparation involves more than just cooking. It starts with proper selection and seasoning. Choosing high-quality cuts with good marbling ensures juicy results. Seasoning with salt and pepper enhances natural flavors, while marinades and rubs can add depth and complexity. With the right knowledge and techniques, anyone can transform a simple piece of meat into a culinary masterpiece.
Understanding Meat Fundamentals
Mastering meat preparation begins with a solid grasp of meat fundamentals. Different types of meat offer unique flavors, textures, and culinary possibilities based on their composition and characteristics.
Types of Meat and Their Unique Characteristics
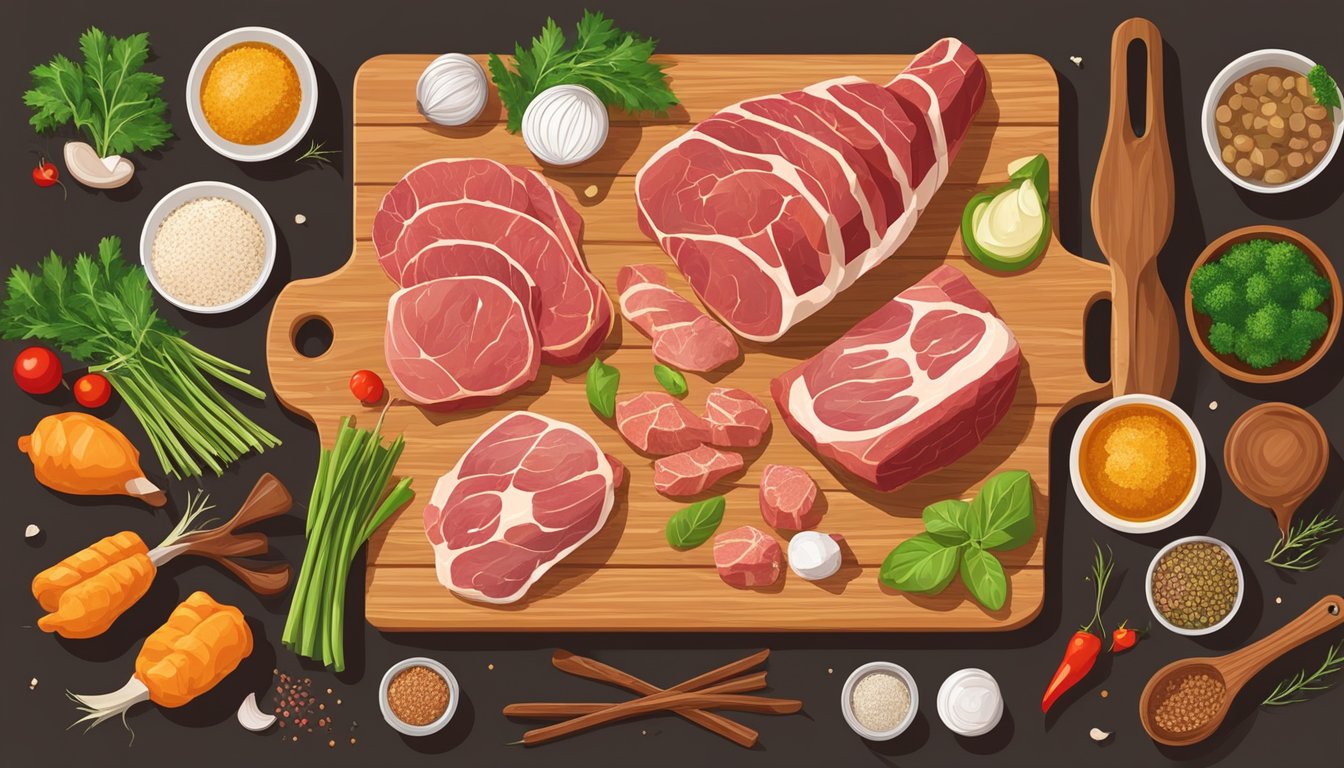
Meat is classified into categories based on the animal source and muscle structure. Red meat, such as beef and lamb, contains more myoglobin, giving it a darker color and richer flavor.
White meat, like chicken and pork, has less myoglobin and a milder taste. Fish and seafood offer lean protein with distinct flavors.
Tender cuts, like ribeye steak and chicken breast, have less connective tissue and are suitable for quick-cooking methods. Tough cuts, such as brisket or shanks, require longer cooking times to break down collagen.
The amount of fat marbling in meat affects its juiciness and flavor. Well-marbled cuts like ribeye are prized for their rich taste and tenderness.
Choosing the Right Cut for Your Dish
Selecting the appropriate cut of meat is crucial for achieving desired results in cooking. Consider the cooking method and desired outcome when making your choice.
For grilling or pan-searing, opt for tender cuts like ribeye steak or pork loin chops. These cuts cook quickly and remain juicy.
Tough cuts with more connective tissue, such as chuck roast or pork shoulder, are ideal for slow-cooking methods like braising or stewing. The extended cooking time breaks down collagen, resulting in tender, flavorful meat.
Lean cuts like chicken breast or sirloin steak work well for stir-frying or quick sautéing. They cook rapidly while remaining moist if not overcooked.
Consider the fat content when choosing meat. Fattier cuts add flavor but may require trimming or longer cooking times to render the fat.
Preparing Meat for Cooking
Proper preparation is crucial for achieving culinary excellence with meat dishes. Key techniques like marinating and resting can significantly enhance flavor and texture.
Marinating Techniques
Marinating infuses meat with flavor and can tenderize tougher cuts. Use an acid-based marinade with ingredients like vinegar, citrus juice, or wine to break down muscle fibers. Add oil to help carry flavors and keep meat moist. Herbs, spices, and aromatics like garlic build complex flavor profiles.
Marinate meat in a non-reactive container or sealable plastic bag. Refrigerate while marinating to prevent bacterial growth. Timing varies by cut:
- 30 minutes to 2 hours for tender cuts like chicken breasts or fish
- 2-8 hours for pork chops or steaks
- Up to 24 hours for tough cuts like flank steak or leg of lamb
Pat meat dry before cooking to promote better browning.
Resting Meat Before and After Cooking
Resting meat before cooking allows it to reach room temperature, promoting even cooking. Remove meat from the refrigerator 30-60 minutes before cooking, depending on size. This step helps achieve the desired internal cooking temperature without overcooking the exterior.
After cooking, resting meat is equally important. It allows juices to redistribute, resulting in a juicier, more flavorful dish. Rest time varies by size:
- 5-10 minutes for small cuts like chicken breasts or pork chops
- 10-20 minutes for larger roasts or whole poultry
- Up to 30 minutes for large roasts like prime rib
Cover meat loosely with foil while resting to keep it warm.
Mastering Heat: Cooking with Dry and Moist Methods
Mastering different cooking methods is essential for preparing delicious and perfectly cooked meat dishes. Dry heat and moist heat techniques each offer unique benefits for enhancing flavors and textures.
Exploring Dry Heat Cooking Methods
Dry heat cooking methods use hot air or fat to cook meat, creating flavorful crusts and caramelized exteriors. Grilling imparts smoky flavors and attractive grill marks. For best results, preheat the grill and oil the grates before cooking.
Roasting works well for larger cuts, cooking meat evenly in an oven. Use a roasting pan and consider basting occasionally to maintain moisture. Searing creates a flavorful crust through high-heat cooking in a pan. It’s often used as a first step before finishing with another method.
Broiling exposes meat to direct heat from above, ideal for thin cuts that cook quickly. Keep a close eye to prevent burning. Baking is versatile and works for various dishes, from meatloaf to casseroles.
Moist Heat Cooking Techniques
Moist heat methods use liquid to cook meat, resulting in tender, flavorful dishes. Braising involves searing meat, then slow-cooking it in liquid. This technique works wonders for tough cuts, breaking down connective tissues.
Stewing is similar to braising but uses smaller meat pieces fully submerged in liquid. It’s perfect for creating rich, hearty dishes. Boiling involves fully immersing meat in bubbling liquid, ideal for certain cuts and preparations.
Poaching uses gentle heat to cook meat in liquid just below boiling point. It’s excellent for delicate meats like fish or chicken breasts. Simmering is a slow, low-temperature method that produces tender results.
Steaming cooks meat with hot vapor, preserving nutrients and moisture. It’s a healthy option that works well for fish and some poultry cuts.
Ensuring Perfect Doneness
Achieving the ideal level of doneness is crucial for culinary excellence when preparing meat dishes. Precise techniques and tools help guarantee consistently perfect results.
Measuring Internal Temperature
A reliable meat thermometer is essential for accurately gauging doneness. Insert the probe into the thickest part of the meat, avoiding bones or fat. For steaks, aim for 125°F (52°C) for rare, 135°F (57°C) for medium-rare, and 145°F (63°C) for medium.
Poultry requires higher temperatures – cook chicken and turkey to 165°F (74°C). For pork, 145°F (63°C) is ideal. Let meats rest 3-5 minutes after cooking, as temperatures will rise slightly.
Digital instant-read thermometers offer quick, accurate readings. For larger roasts, use a leave-in probe thermometer to monitor temperature throughout cooking without opening the oven.
Visual and Tactile Doneness Tests
While less precise than temperature readings, visual and touch-based tests can supplement thermometer use. The finger test compares meat firmness to different parts of the hand. A rare steak feels like the fleshy part below the thumb when relaxed. Medium-rare resembles a slightly firmed muscle.
For visual cues, rare meat appears very red and feels soft. Medium-rare is pink with a firmer texture. Medium has a pale pink center and springy feel. Well-done meat is brown throughout with a firm texture.
Cut into thicker cuts near the bone to check color. Clear juices indicate doneness for poultry. These methods require practice but can be useful backups to temperature checks.
Advanced Cooking Techniques
Advanced meat preparation techniques allow chefs to create incredibly tender and flavorful dishes. These methods require precision and skill but can elevate meals to new heights of culinary excellence.
Sautéing and Pan-Frying
Sautéing involves cooking meat quickly in a small amount of hot oil. This technique is ideal for thin cuts like chicken breasts or pork chops. Heat the pan until very hot, add oil, then cook the meat for 2-3 minutes per side.
Pan-frying uses more oil and lower heat. It’s perfect for thicker cuts like steaks. Preheat the pan, add oil, then cook 4-5 minutes per side for medium-rare. Both methods create a delicious browned crust while keeping the interior juicy.
Tips for success:
• Use a heavy-bottomed pan for even heat distribution
• Pat meat dry before cooking to promote browning
• Don’t overcrowd the pan, which can lead to steaming instead of browning
Stir-Frying and Smoking
Stir-frying cooks small pieces of meat quickly over high heat. Cut meat into uniform bite-sized pieces. Heat oil in a wok until smoking, then add meat in small batches. Cook for 2-3 minutes, stirring constantly.
Smoking imparts rich flavor through low, slow cooking. Soak wood chips in water for 30 minutes. Place meat in smoker and maintain temperature between 200-225°F. Smoke time varies:
• Chicken: 2-3 hours
• Pork shoulder: 1.5 hours per pound
• Brisket: 1-1.5 hours per pound
Use a meat thermometer to ensure food safety. Let smoked meats rest 10-15 minutes before slicing.
Slow-Cooking and Tenderizing Methods
Slow-cooking transforms tough cuts into tender, flavorful dishes. Popular methods include braising and using a slow cooker. For braising, brown meat, then simmer in liquid for several hours. Slow cookers work similarly but with less hands-on time.
Sous vide cooking offers precise temperature control. Seal seasoned meat in a plastic bag and cook in a water bath:
• Chicken breast: 145°F for 1-4 hours
• Steak: 129°F for medium-rare, 1-4 hours
• Pork chops: 140°F for 1-4 hours
After sous vide, quickly sear meat to add color and texture. This method ensures perfectly cooked meat throughout.
Finishing Touches to Meat Dishes

Applying final touches to meat dishes elevates their flavor and presentation. Proper resting, carving, garnishing, and plating techniques can transform a good meal into an extraordinary culinary experience.
Resting and Carving
After cooking, allow meat to rest for 5-15 minutes depending on size. This process redistributes juices, ensuring a moist and flavorful result. Place the meat on a warm platter and loosely cover with foil to maintain temperature.
For large roasts, use a sharp carving knife and cut against the grain. This technique produces tender slices that are easier to chew. When carving poultry, start by removing the legs and wings, then slice the breast meat.
Consider the thickness of slices based on the cut and cooking method. Thinner slices work well for leaner meats, while thicker cuts suit fattier portions.
Garnishing and Plating
Enhance the visual appeal and flavor profile of meat dishes through thoughtful garnishing. Fresh herbs like rosemary, thyme, or parsley add color and aromatic notes. Lemon wedges can brighten rich flavors.
Complement the meat with colorful vegetables or fruit slices. Roasted cherry tomatoes or grilled pineapple can provide a delightful contrast.
When plating, use the meat as the focal point. Arrange accompaniments around it, creating a balanced composition. Drizzle with pan juices or a complementary sauce for added moisture and flavor.
Consider texture when plating. Crispy elements like fried shallots or toasted nuts can provide an interesting contrast to tender meat.